实现web架构实战:
要求:
- 实现LNMP架构
- 独立的数据库
- 共享存储
- 实现用户数据的实时同步(nfs /data目录数据实时同步到 backup服务器上)
- 不使用wordpress,使用wecenter
| 主机名 | WanIP | LanIP | 角色 | 安装应用 |
|---|---|---|---|---|
| web01 | 10.0.0.7 | 172.16.1.7 | wordpress、wecenter网站 nfs客户端 | nginx php nfs wordpress wecenter |
| web02 | 10.0.0.8 | 172.16.1.8 | wordpress、wecenter网站 nfs客户端 | nginx php nfs wordpress wecente |
| nfs | 10.0.0.31 | 172.16.1.31 | nfs服务端 rsync客户端 | nfs-utils sersync rsync |
| db01 | 10.0.051 | 172.16.1.51 | 数据库 | MySQL(MariaDB) |
| backup | 10.0.0.41 | 172.16.1.41 | rsync服务端(备份数据、实时同步数据)nfs服务端 | rsync nfs-utils |
rsync服务端部署
# 1.安装rsync
[root@backup ~]# yum install -y rsync

# 2.修改rsync配置文件
[root@backup ~]# vim /etc/rsyncd.conf
uid = www
gid = www
port = 873
fake super = yes
use chroot = no
max connections = 200
timeout = 600
ignore errors
read only = false
list = false
auth users = rsync_backup
secrets file = /etc/rsync.passwd
log file = /var/log/rsyncd.log
#####################################
[wp_data]
comment = welcome to oldboyedu backup!
path = /wp_data

[zh_data]
comment = welcome to oldboyedu backup!
path = /zh_data

# 3.创建www用户和组
[root@backup ~]# groupadd www -g 666
[root@backup ~]# useradd www -u 666 -g 666 -s /sbin/nologin -M

# 4.创建密码文件
[root@backup ~]# echo 'rsync_backup:123' > /etc/rsync.passwd

# 5.修改密码文件的权限
[root@backup ~]# chmod 600 /etc/rsync.passwd

# 6.创建备份目录
[root@backup ~]# mkdir /{wp,zh}_data

# 7.授权备份目录
[root@backup ~]# chown www.www /{wp,zh}_data

# 8.启动rsync服务并加入开机自启
[root@backup ~]# systemctl start rsyncd
[root@backup ~]# systemctl enable rsyncd
NFS服务端部署
# 1.安装nfs服务
[root@nfs ~]# yum install -y nfs-utils
[root@backup ~]# yum install -y nfs-utils

# 2.修改nfs配置文件
[root@nfs ~]# vim /etc/exports
/wp_data 172.16.1.0/24(rw,sync,anonuid=666,anongid=666,all_squash)
/zh_data 172.16.1.0/24(rw,sync,anonuid=666,anongid=666,all_squash)
[root@backup ~]# vim /etc/exports
/wp_data 172.16.1.0/24(rw,sync,anonuid=666,anongid=666,all_squash)
/zh_data 172.16.1.0/24(rw,sync,anonuid=666,anongid=666,all_squash)

# 3.创建www用户和组
[root@nfs ~]# groupadd www -g 666
[root@nfs ~]# useradd www -u 666 -g 666 -s /sbin/nologin -M
[root@backup ~]# groupadd www -g 666
[root@backup ~]# useradd www -u 666 -g 666 -s /sbin/nologin -M

# 4.创建共享目录
[root@nfs ~]# mkdir /{wp,zh}_data

# 5.共享目录授权
[root@nfs ~]# chown www.www /{wp,zh}_data

# 6.启动nfs服务
[root@nfs ~]# systemctl start nfs
[root@nfs ~]# systemctl enable nfs
[root@backup ~]# systemctl start nfs
[root@backup ~]# systemctl enable nfs
部署web服务器
# 1.更改yum源
[root@web01 ~]# vim /etc/yum.repos.d/nginx.repo
[nginx]
name=nginx repo
baseurl=http://nginx.org/packages/centos/7/$basearch/
gpgcheck=0
enabled=1

[root@web02 ~]# vim /etc/yum.repos.d/nginx.repo
[nginx]
name=nginx repo
baseurl=http://nginx.org/packages/centos/7/$basearch/
gpgcheck=0
enabled=1

[root@web01 ~]# vim /etc/yum.repos.d/php.repo
[php-webtatic]
name = PHP Repository
baseurl = http://us-east.repo.webtatic.com/yum/el7/x86_64/
gpgcheck = 0

[root@web02 ~]# vim /etc/yum.repos.d/php.repo
[php-webtatic]
name = PHP Repository
baseurl = http://us-east.repo.webtatic.com/yum/el7/x86_64/
gpgcheck = 0

# 2.安装nginx和php
[root@web01 ~]# yum -y install php71w php71w-cli php71w-common php71w-devel php71w-embedded php71w-gd php71w-mcrypt php71w-mbstring php71w-pdo php71w-xml php71w-fpm
php71w-mysqlnd php71w-opcache php71w-pecl-memcached php71w-pecl-redis php71w-pecl-mongodb nginx

[root@web02 ~]# yum -y install php71w php71w-cli php71w-common php71w-devel php71w-embedded php71w-gd php71w-mcrypt php71w-mbstring php71w-pdo php71w-xml php71w-fpm
php71w-mysqlnd php71w-opcache php71w-pecl-memcached php71w-pecl-redis php71w-pecl-mongodb nginx

# 3.创建www用户和组
[root@web01 ~]# groupadd www -g 666
[root@web01 ~]# useradd www -u 666 -g 666 -s /sbin/nologin -M
[root@web02 ~]# groupadd www -g 666
[root@web02 ~]# useradd www -u 666 -g 666 -s /sbin/nologin -M

# 4.修改nginx主配置文件(启动用户)
[root@web01 ~]# vim /etc/nginx/nginx.conf
user www;
[root@web02 ~]# vim /etc/nginx/nginx.conf
user www;

# 5.修改php配置文件(启动用户)
[root@web01 ~]# vim /etc/php-fpm.d/www.conf
[www]
user = www
group = www
[root@web02 ~]# vim /etc/php-fpm.d/www.conf
[www]
user = www
group = www

# 6.编写wordpress配置文件
[root@web01 ~]# vim /etc/nginx/conf.d/blog.lw.com.conf
server{
        listen 80;
        server_name blog.lw.com;
        root /code/wordpress;
        index index.php index.html;

        location ~ \.php$ {
            fastcgi_pass 127.0.0.1:9000;
            fastcgi_param SCRIPT_FILENAME $document_root$fastcgi_script_name;
            include fastcgi_params;
    }
}

[root@web02 ~]# vim /etc/nginx/conf.d/blog.lw.com.conf
server{
        listen 80;
        server_name blog.lw.com;
        root /code/wordpress;
        index index.php index.html;

        location ~ \.php$ {
            fastcgi_pass 127.0.0.1:9000;
            fastcgi_param SCRIPT_FILENAME $document_root$fastcgi_script_name;
            include fastcgi_params;
    }
}

# 7.编写wecenter配置文件
[root@web01 ~]# vim /etc/nginx/conf.d/zh.lw.com.conf
server{
        listen 80;
        server_name zh.lw.com;
        root /code/wecenter;
        index index.php index.html;

        location ~ \.php$ {
            fastcgi_pass 127.0.0.1:9000;
            fastcgi_param SCRIPT_FILENAME $document_root$fastcgi_script_name;
            include fastcgi_params;
        }
}

[root@web02 ~]# vim /etc/nginx/conf.d/zh.lw.com.conf
server{
        listen 80;
        server_name blog.lw.com;
        root /code/wordpress;
        index index.php index.html;

        location ~ \.php$ {
            fastcgi_pass 127.0.0.1:9000;
            fastcgi_param SCRIPT_FILENAME $document_root$fastcgi_script_name;
            include fastcgi_params;
    }
}

# 7.编写wecenter配置文件
[root@web01 ~]# vim /etc/nginx/conf.d/zh.lw.com.conf
server{
        listen 80;
        server_name zh.lw.com;
        root /code/wecenter;
        index index.php index.html;

        location ~ \.php$ {
            fastcgi_pass 127.0.0.1:9000;
            fastcgi_param SCRIPT_FILENAME $document_root$fastcgi_script_name;
            include fastcgi_params;
        }
}

# 8.启动nginx和php并加入开机自启
[root@web01 ~]# systemctl start nginx php-fpm
[root@web01 ~]# systemctl enable nginx php-fpm

[root@web02 ~]# systemctl start nginx php-fpm
[root@web02 ~]# systemctl enable nginx php-fpm

# 9.创建站点目录
[root@web01 ~]# mkdir /code
[root@web02 ~]# mkdir /code

# 10.下载代码
[root@web01 code]# wget http://test.driverzeng.com/Nginx_Code/WeCenter_3-2-1.zip

[root@web01 code]# wget https://cn.wordpress.org/latest-zh_CN.tar.gz

######################## 11.部署wordpress(web01)
[root@web01 code]# tar xf latest-zh_CN.tar.gz

# 12.授权站点目录
[root@web01 code]# chown -R www.www /code/
数据库部署
# 1.安装MariaDB
[root@db01 ~]# yum install -y mariadb-server

# 2.启动MariaDB并加入开机自启
[root@db01 ~]# systemctl start mariadb
[root@db01 ~]# systemctl enable mariadb

# 3.设置数据库的管理用户 root 初始密码
[root@db01 ~]# mysqladmin -uroot -p password '123'
Enter password: ## root默认没有密码,直接回车

# 4.连接数据库
[root@db01 ~]# mysql -uroot -p123

# 5.创建wordpress数据库
MariaDB [(none)]> create database wordpress;
Query OK, 1 row affected (0.00 sec)

# 6.创建wecenter数据库
MariaDB [(none)]> create database wecenter;
Query OK, 1 row affected (0.00 sec)

# 7.创建wordpress程序连接数据库的用户
创建一个用户:
用户名:wordpress_user
密码:123
允许该用户连接的IP地址:172.16.1.0/24网段
针对wordpress库下面的所有表,有所有权限
MariaDB [(none)]> grant all on wordpress.* to wordpress_user@'172.16.1.%' identified
by '123';

# 8.创建wecenter程序连接数据库的用户
MariaDB [(none)]> grant all on wecenter.* to wecenter_user@'172.16.1.%' identified by
'123';
windows本地域名解析
10.0.0.7 blog.lw.com zh.lw.com
#10.0.0.8 blog.lw.com zh.lw.com
web02部署wordpress
# 1.将web01部署好的wordpress拷贝到web02
[root@web01 code]# scp -r /code/wordpress/ 172.16.1.8:/code

# 2.授权站点目录
[root@web02 code]# chown -R www.www /code/
web01部署wecenter代码
# 1.解压wecenter代码
[root@web01 code]# unzip WeCenter_3-2-1.zip

# 2.改名
[root@web01 code]# mv WeCenter_3-2-1 wecenter

# 3.授权
[root@web01 code]# chown -R www.www /code/
web02部署wecenter
# 1.拷贝配置好的wecenter代码
[root@web01 code]# scp -r /code/wecenter 172.16.1.8:/code/

# 2.授权
[root@web02 code]# chown -R www.www /code/
nfs客户端(共享存储)
# 1.安装nfs-utils
[root@web01 ~]# yum install -y nfs-utils
[root@web02 ~]# yum install -y nfs-utils

# 2.查看挂载点
[root@web01 ~]# showmount -e 172.16.1.31
[root@web02 ~]# showmount -e 172.16.1.31

#3.用户上传目录
[root@web01 ~]# mkdir /code/wordpress/wp-content/uploads
[root@web02 ~]# mkdir /code/wordpress/wp-content/uploads

# 4.挂载wp共享存储目录
[root@web01 ~]# mount -t nfs 172.16.1.31:/wp_data /code/wordpress/wp-content/uploads
[root@web02 ~]# mount -t nfs 172.16.1.31:/wp_data /code/wordpress/wp-content/uploads

# 5.挂载zh共享存储目录
[root@web01 ~]# mount -t nfs 172.16.1.31:/zh_data /code/wecenter/uploads/
[root@web02 ~]# mount -t nfs 172.16.1.31:/zh_data /code/wecenter/uploads/
rsync客户端部署(sersync实时同步)
# 1.下载sersync
[root@nfs ~]# wget
http://test.driverzeng.com/other/sersync2.5.4_64bit_binary_stable_final.tar.gz
# 2.安装sersync依赖(inotify rsync)
[root@nfs ~]# yum install -y rsync inotify-tools
# 3.创建sersync安装目录
[root@nfs ~]# mkdir /app
# 4.解压sersync
[root@nfs ~]# tar xf sersync2.5.4_64bit_binary_stable_final.tar.gz -C /app
# 5.改名
[root@nfs app]# mv /app/GNU-Linux-x86 /app/sersync
# 6.修改配置文件
[root@nfs app]# vim /app/sersync/zh_data.xml
<?xml version="1.0" encoding="ISO-8859-1"?>
<head version="2.5">
    <host hostip="localhost" port="8008"></host>
    <debug start="false"/>
    <fileSystem xfs="false"/>
    <filter start="false">
    <exclude expression="(.*)\.svn"></exclude>
    <exclude expression="(.*)\.gz"></exclude>
    <exclude expression="^info/*"></exclude>
    <exclude expression="^static/*"></exclude>
    </filter>
    <inotify>
    <delete start="true"/>
    <createFolder start="true"/>
    <createFile start="true"/>
    <closeWrite start="true"/>
    <moveFrom start="true"/>
    <moveTo start="true"/>
    <attrib start="true"/>
    <modify start="true"/>
    </inotify>

    <sersync>
    <localpath watch="/zh_data">
        <remote ip="172.16.1.41" name="zh_data"/>
        <!--<remote ip="192.168.8.39" name="tongbu"/>-->
        <!--<remote ip="192.168.8.40" name="tongbu"/>-->
    </localpath>
    <rsync>
        <commonParams params="-az"/>
        <auth start="true" users="rsync_backup" passwordfile="/etc/rsync.passwd"/>
        <userDefinedPort start="false" port="874"/><!-- port=874 -->
        <timeout start="false" time="100"/><!-- timeout=100 -->
        <ssh start="false"/>
    </rsync>
    <failLog path="/tmp/rsync_fail_log.sh" timeToExecute="60"/><!--default every 60mins execute once-->
    <crontab start="false" schedule="600"><!--600mins-->
        <crontabfilter start="false">
        <exclude expression="*.php"></exclude>
        <exclude expression="info/*"></exclude>
        </crontabfilter>
    </crontab>
    <plugin start="false" name="command"/>
    </sersync>

    <plugin name="command">
    <param prefix="/bin/sh" suffix="" ignoreError="true"/> <!--prefix
    /opt/tongbu/mmm.sh suffix-->
    <filter start="false">
        <include expression="(.*)\.php"/>
        <include expression="(.*)\.sh"/>
    </filter>
    </plugin>

    <plugin name="socket">
    <localpath watch="/opt/tongbu">
        <deshost ip="192.168.138.20" port="8009"/>
    </localpath>
    </plugin>
    <plugin name="refreshCDN">
    <localpath watch="/data0/htdocs/cms.xoyo.com/site/">
        <cdninfo domainname="ccms.chinacache.com" port="80" username="xxxx"
passwd="xxxx"/>
        <sendurl base="http://pic.xoyo.com/cms"/>
        <regexurl regex="false" match="cms.xoyo.com/site([/a-zA-Z0-
9]*).xoyo.com/images"/>
    </localpath>
    </plugin>
</head>

[root@nfs app]# vim /app/sersync/wp_data.xml

# 7.创建密码文件
[root@nfs app]# echo '123' > /etc/rsync.passwd

# 8.授权密码文件
[root@nfs app]# chmod 600 /etc/rsync.passwd

# 9.启动sersync
[root@nfs ~]# /app/sersync/sersync2 -rdo /app/sersync/zh_data.xml
[root@nfs ~]# /app/sersync/sersync2 -rdo /app/sersync/wp_data.xml
博客服务器购买
阿里云官网:TP
点开控制台

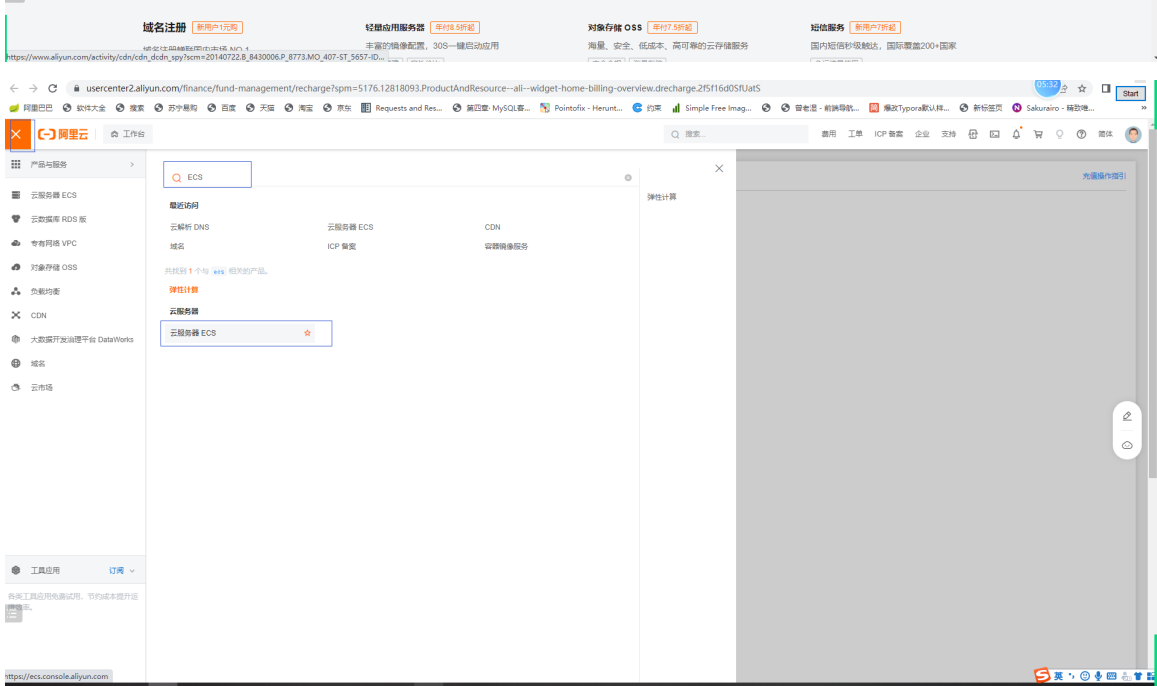
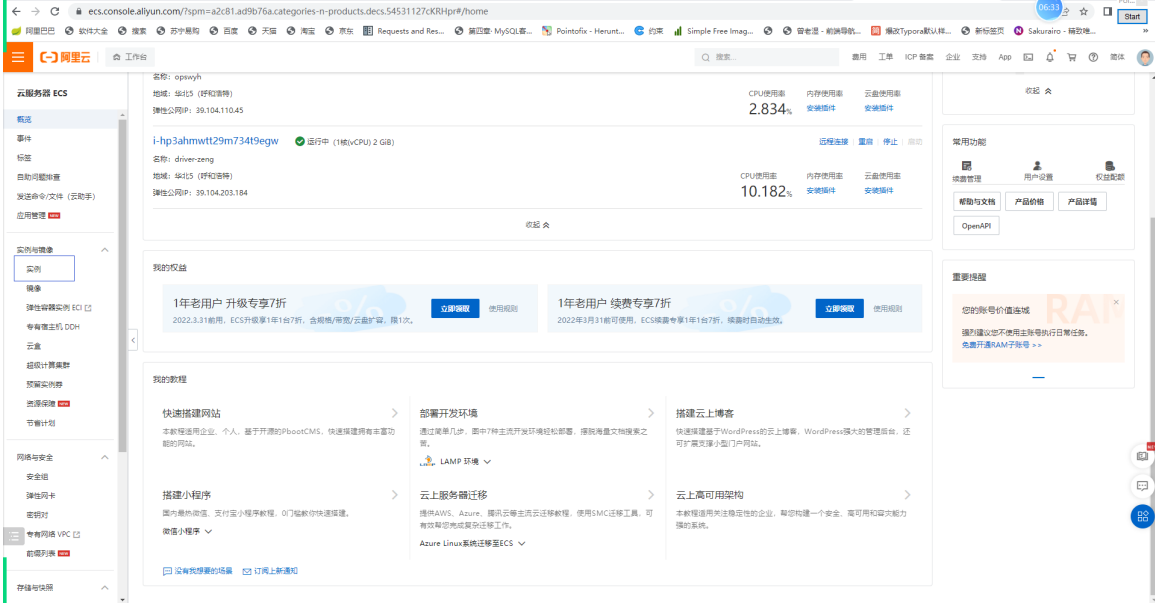
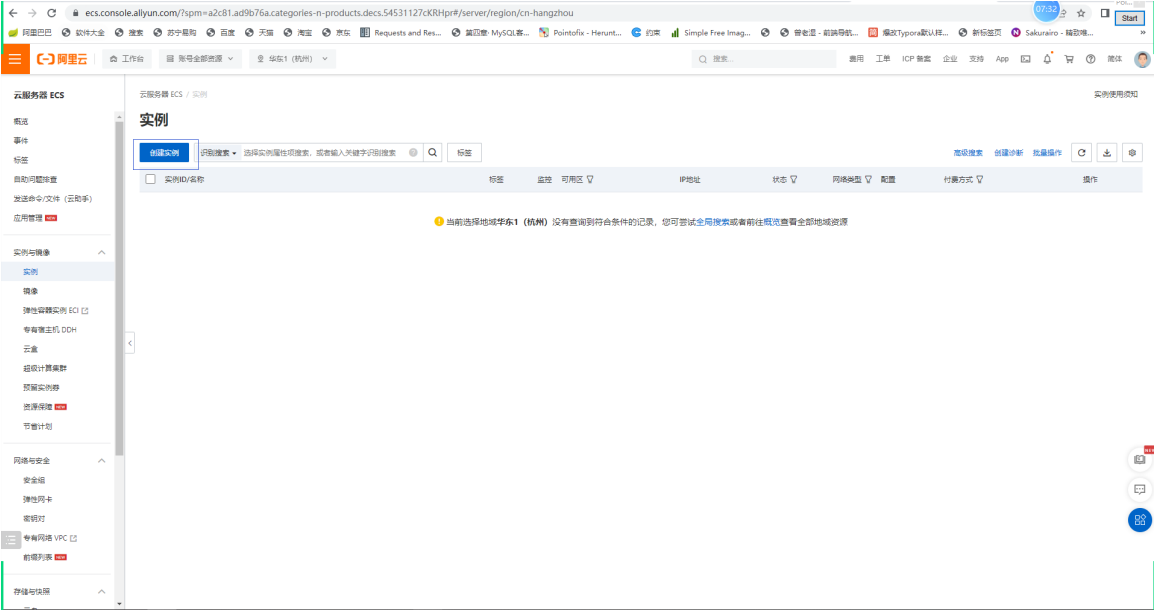
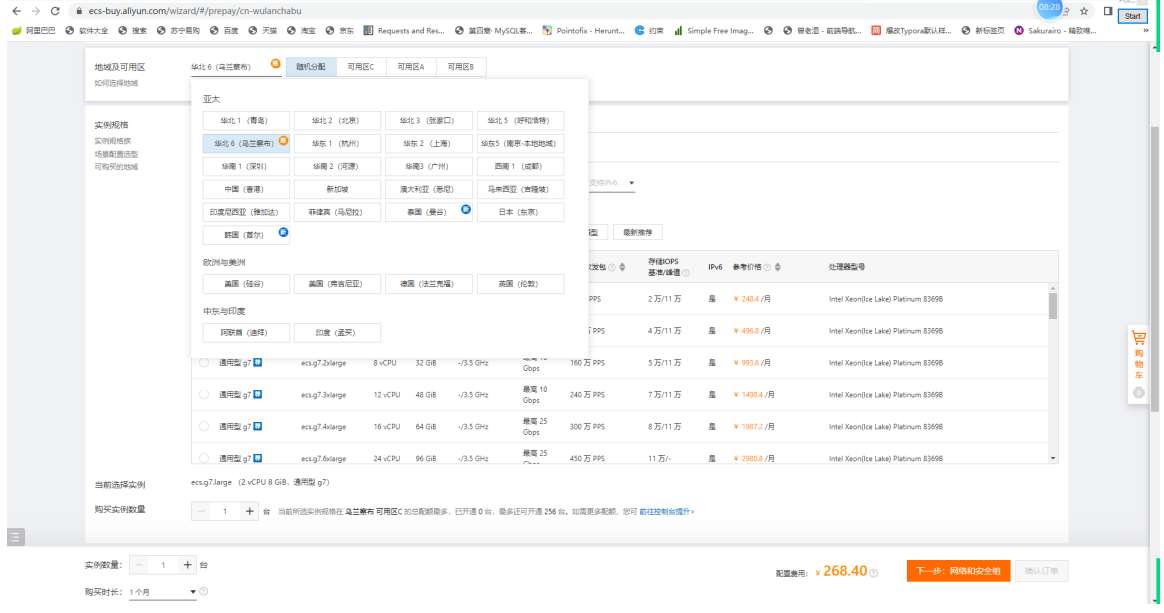
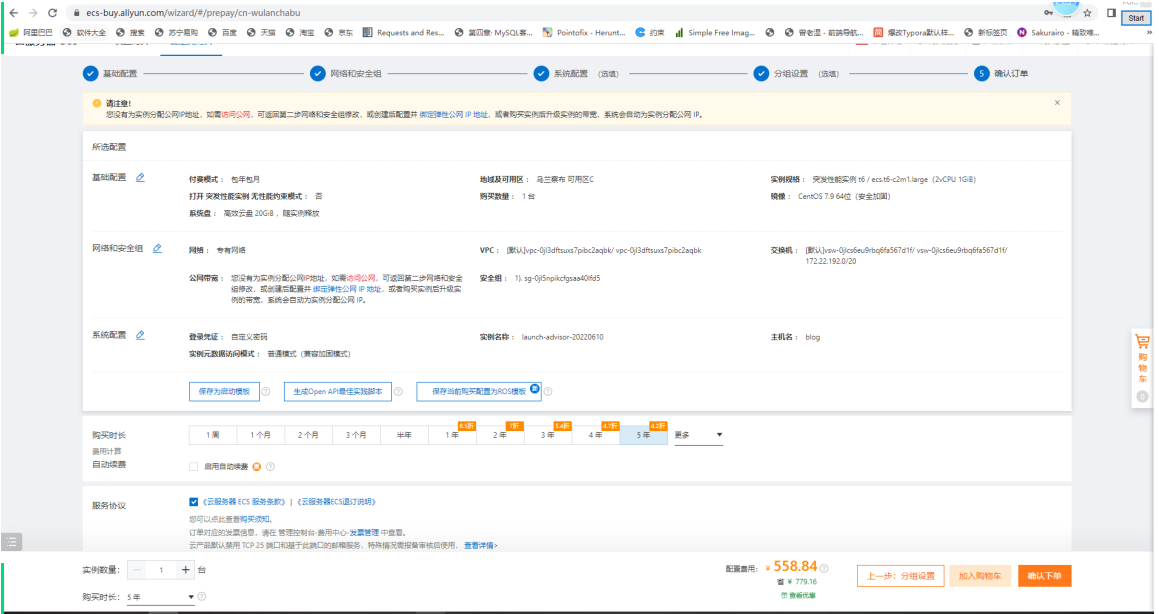
服务器选择
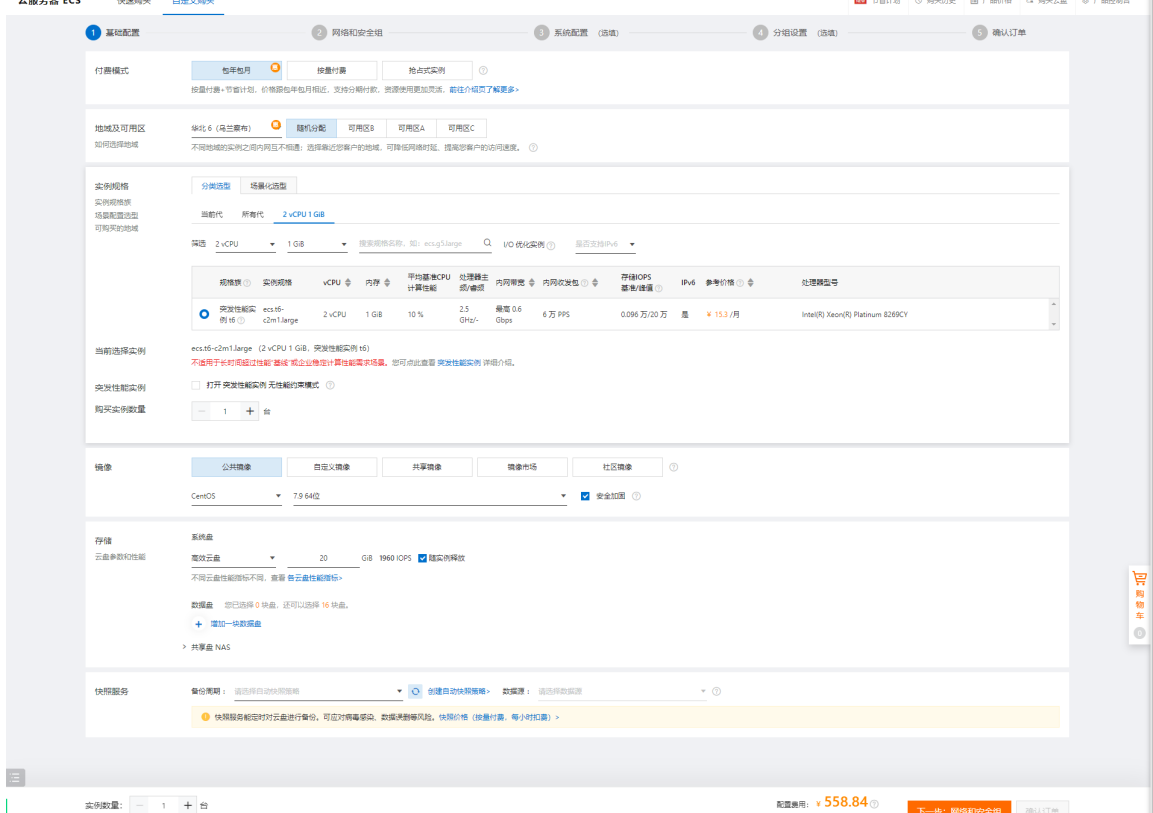
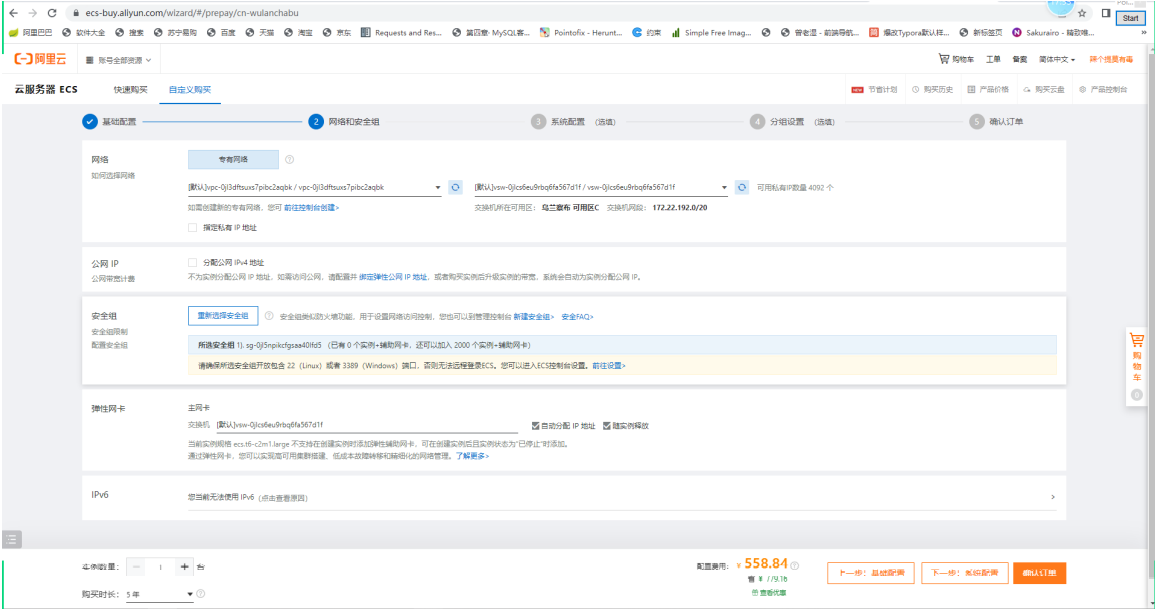
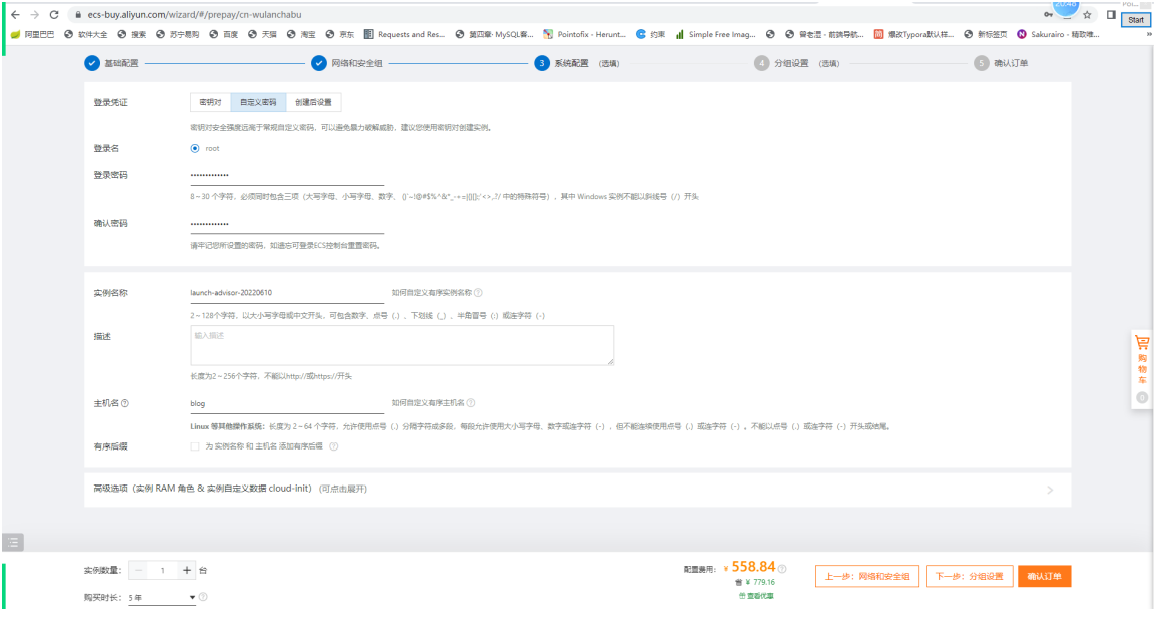
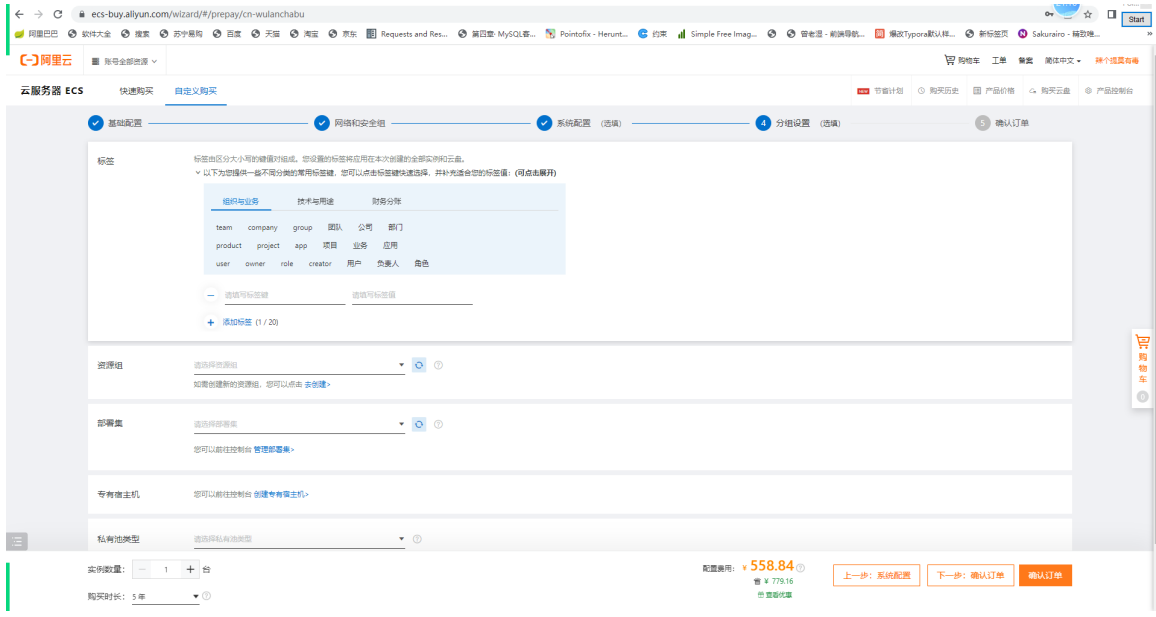
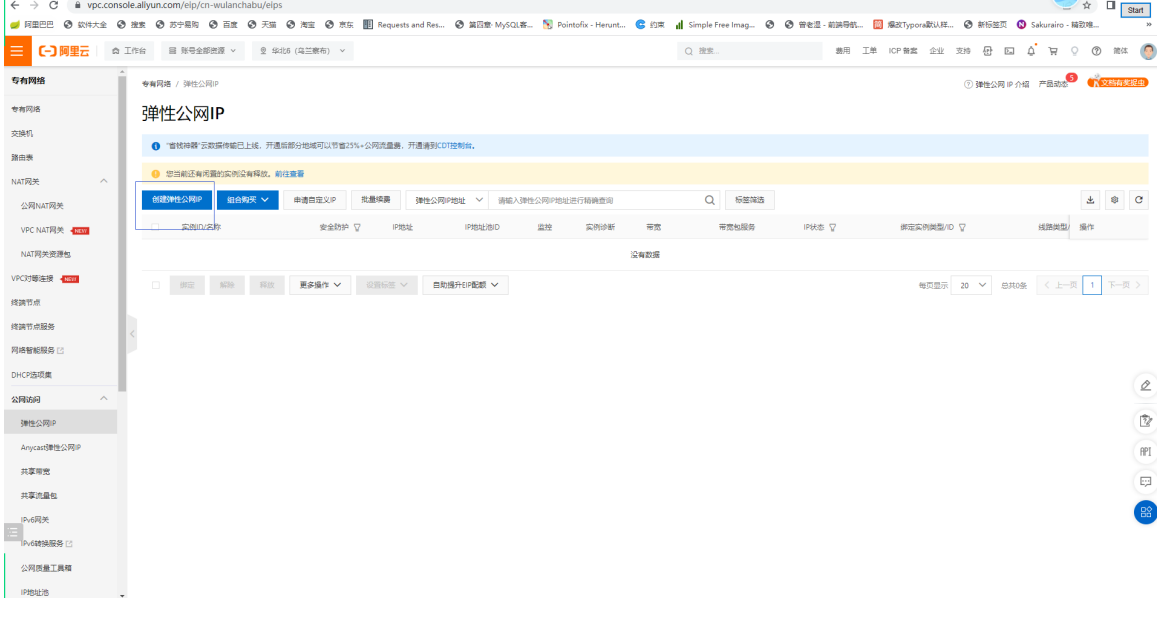
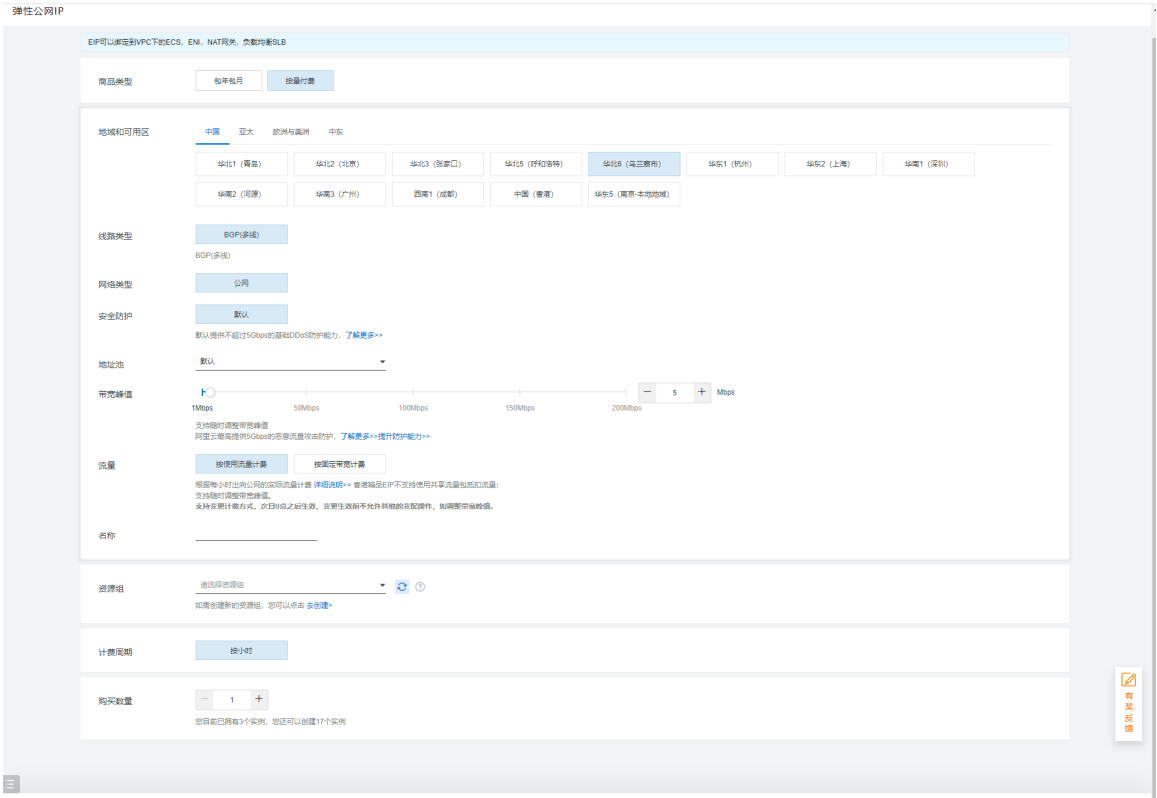
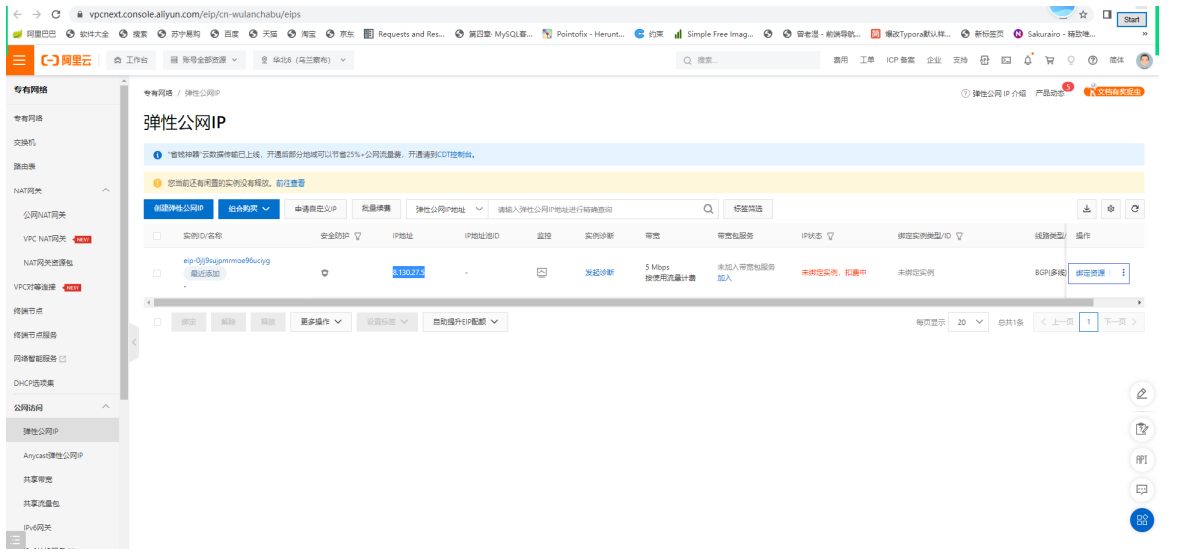
给云主机添加弹性IP
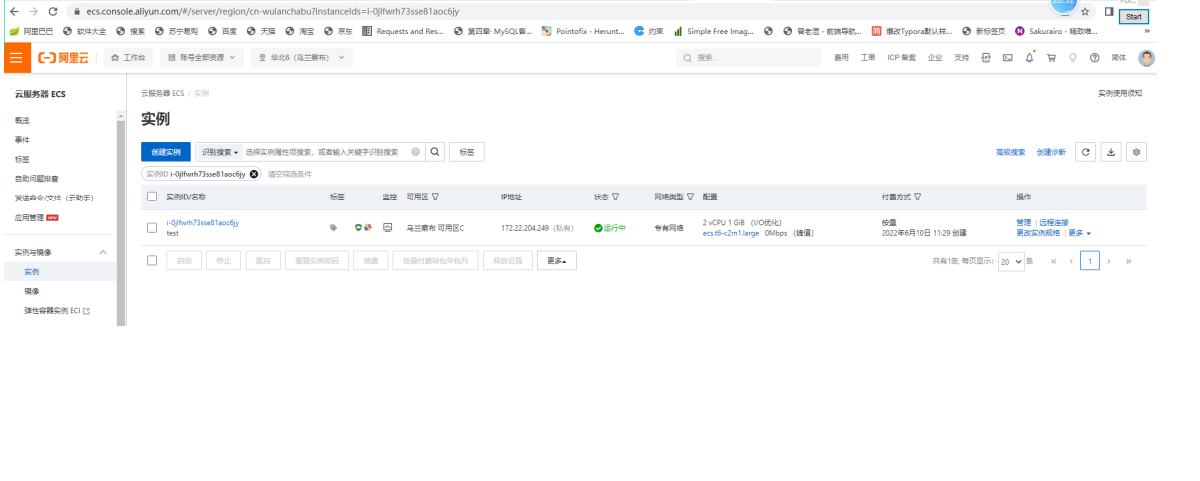
此时服务器只有内网IP地址

阿里云部署LNMP
# 1.添加nginx官方源
[root@test ~]# vim /etc/yum.repos.d/nginx.repo
[nginx]
name=nginx repo
baseurl=http://nginx.org/packages/centos/7/$basearch/
gpgcheck=0
enabled=1

# 2.添加php官方源
[root@test ~]# vim /etc/yum.repos.d/php.repo
[php-webtatic]
name = PHP Repository
baseurl = http://us-east.repo.webtatic.com/yum/el7/x86_64/
gpgcheck = 0

# 3.安装nginx
[root@test ~]# yum -y install php71w php71w-cli php71w-common php71w-devel php71w-embedded php71w-gd php71w-mcrypt php71w-mbstring php71w-pdo php71w-xml php71w-fpm php71w-mysqlnd php71w-opcache php71w-pecl-memcached php71w-pecl-redis php71w-pecl-mongodb nginx

# 4.创建nginx和php启动用户
[root@test ~]# useradd zls -s /sbin/nologin -M

# 5.修改nginx主配置文件
[root@test ~]# vim /etc/nginx/nginx.conf
user  zls;

# 6.修改php配置文件
[root@test ~]# vim /etc/php-fpm.d/www.conf
[www]
user = zls
group = zls

# 7.使php用socket连接
[root@test ~]# vim /etc/php-fpm.d/www.conf
listen = /dev/shm/php.sock
listen.owner = zls
listen.group = zls

# 8.编写nginx配置文件
[root@test ~]# vim /etc/nginx/conf.d/blog.linuxgc.com.conf
server{
        listen 80;
        server_name blog.linuxgc.com;
        root /code/wordpress;
        index index.php index.html;

        location ~ \.php$ {
                fastcgi_pass unix:/dev/shm/php.sock;
                fastcgi_param SCRIPT_FILENAME $document_root$fastcgi_script_name;
                include fastcgi_params;
        }
}

# 9.启动服务并加入开机自启
[root@test ~]# systemctl start nginx php-fpm
[root@test ~]# systemctl enable nginx php-fpm

# 10.创建站点目录
[root@test ~]# mkdir /code

# 11.下载wordpress代码
[root@test ~]# cd /code/
[root@test code]# wget https://cn.wordpress.org/latest-zh_CN.tar.gz

# 12.解压
[root@test code]# tar xf latest-zh_CN.tar.gz

# 13.授权
[root@test code]# chown -R zls.zls /code/
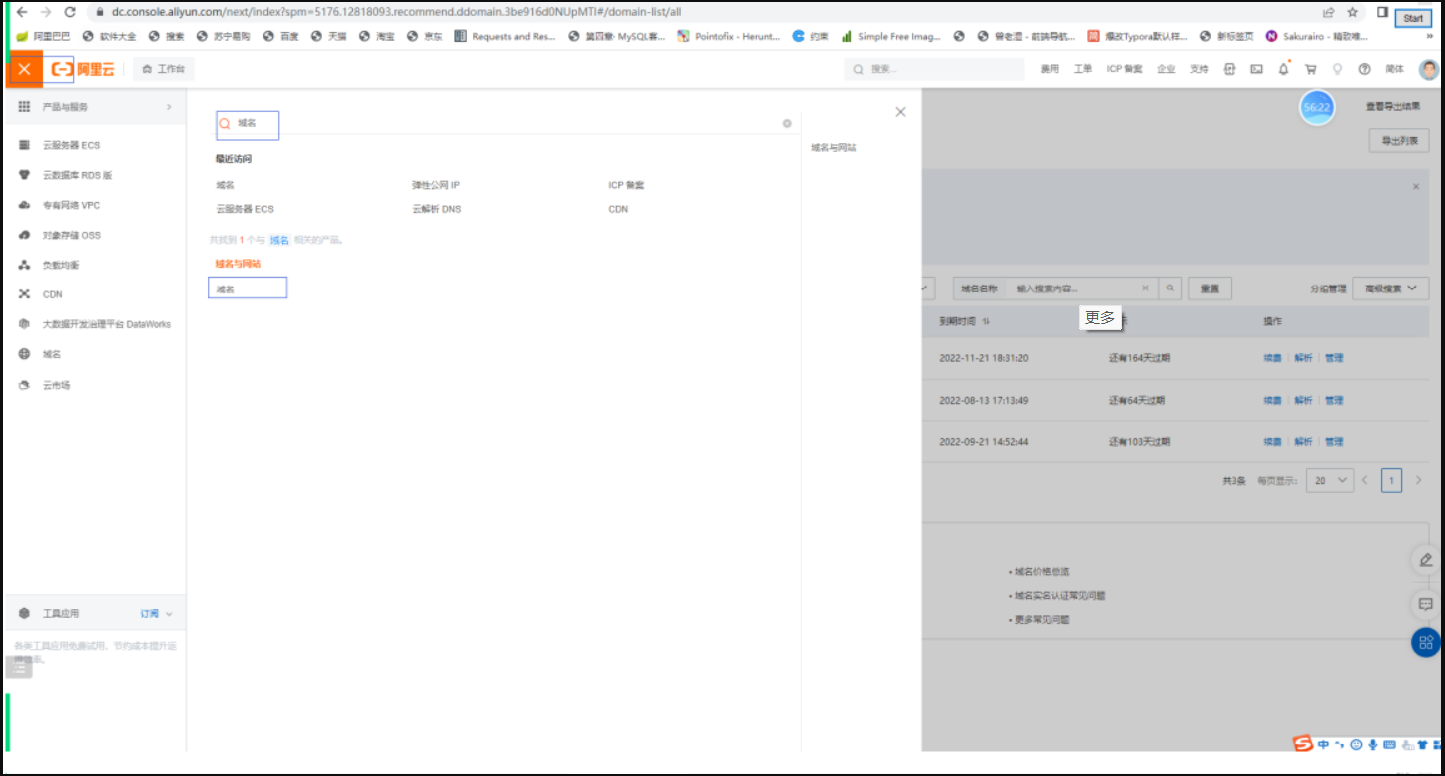
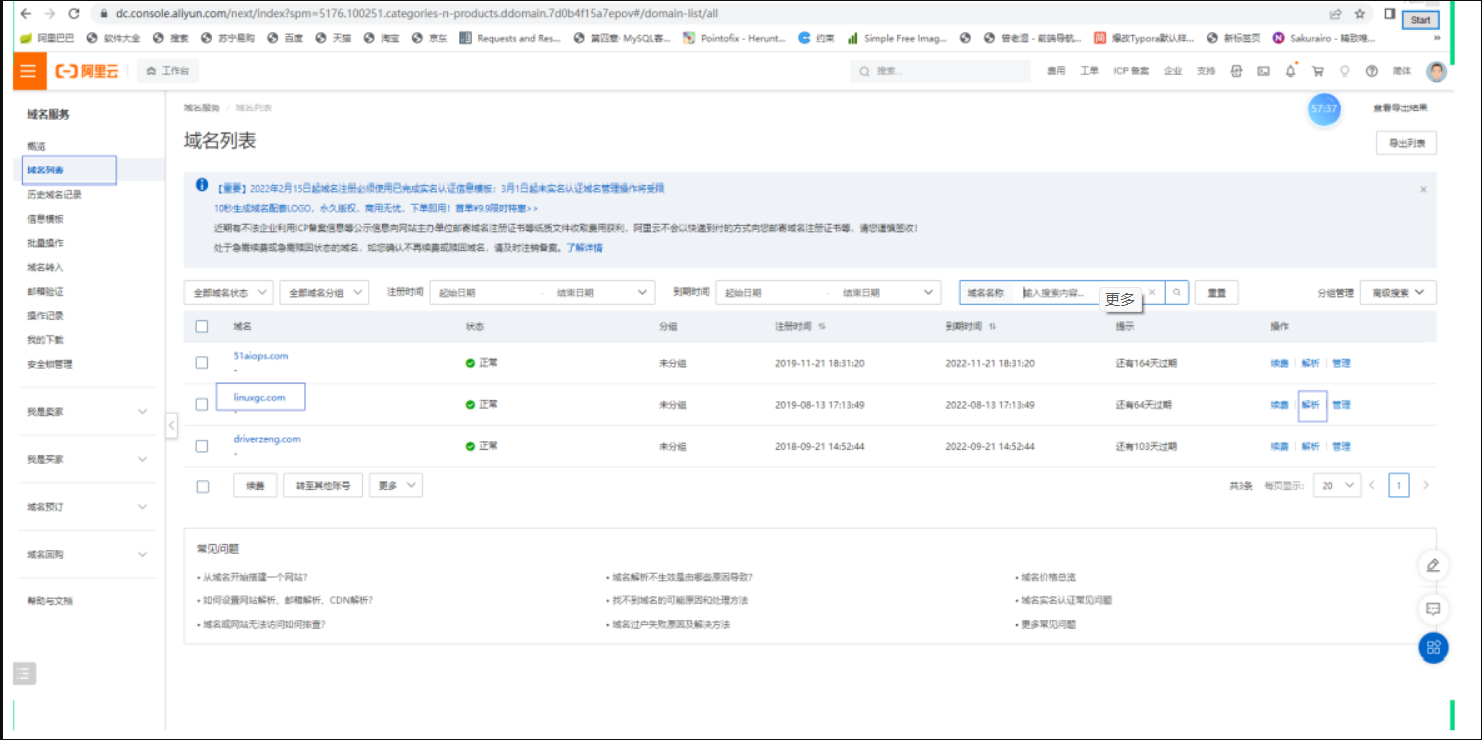
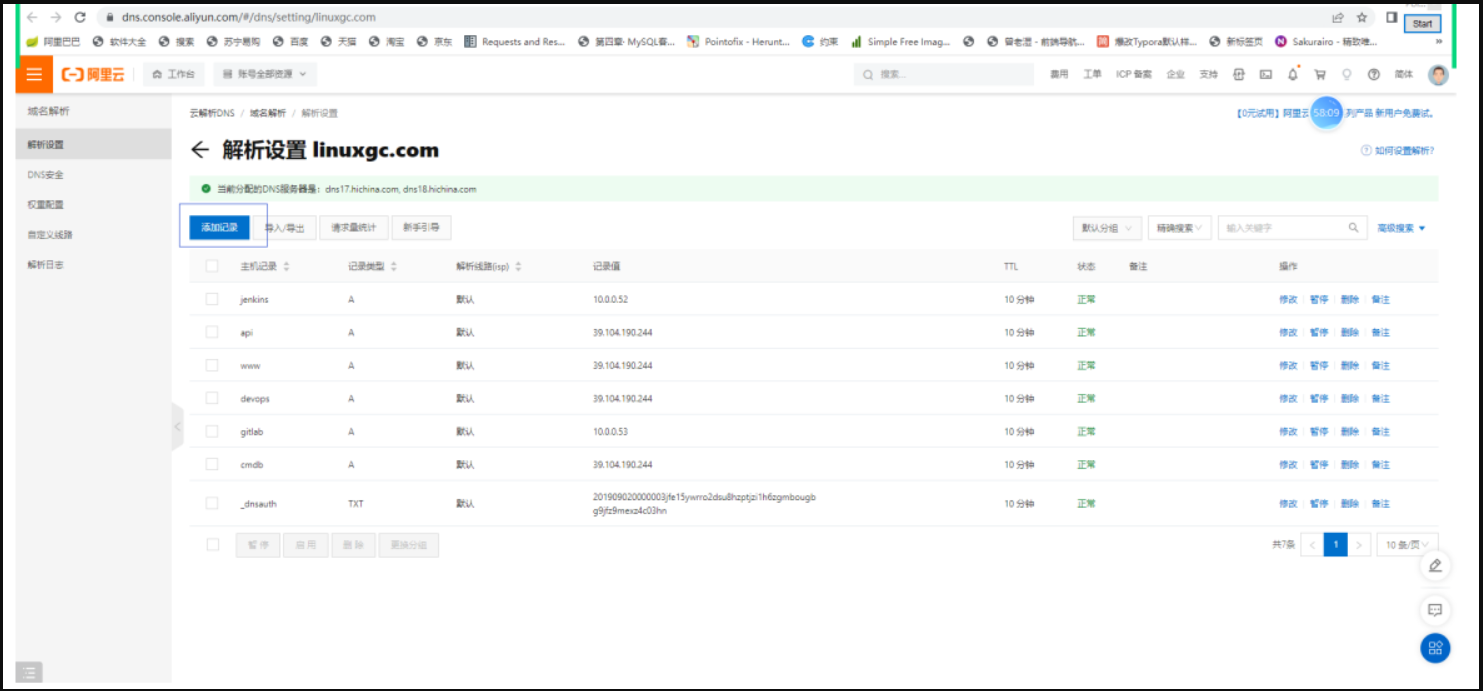
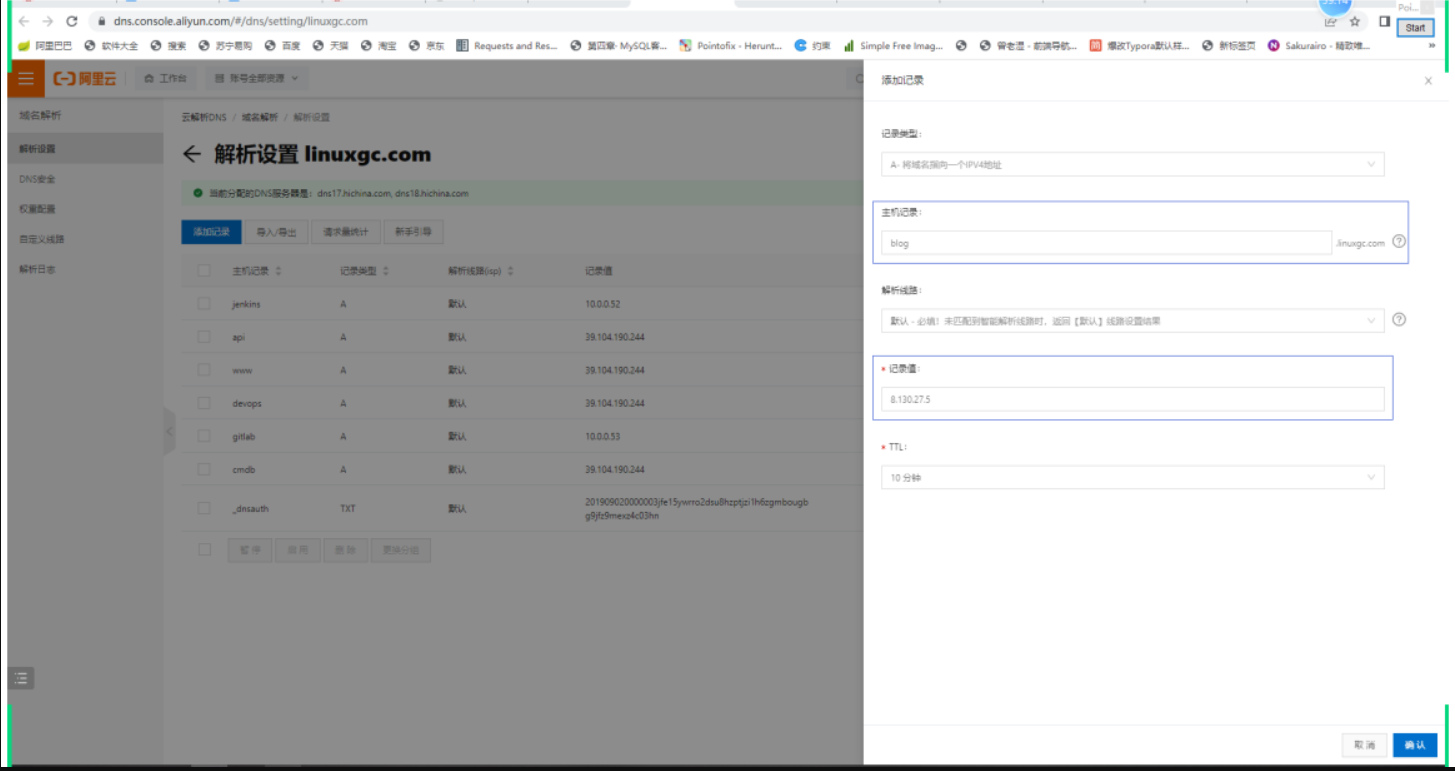
域名解析
使用yum安装MySQL
## 官网:https://www.mysql.com/# 1.下载MySQL yum源
[root@test ~]# wget https://dev.mysql.com/get/mysql80-community-release-el7-6.noarch.rpm
# 2.安装MySQL yum源
[root@test ~]# rpm -ivh mysql80-community-release-el7-6.noarch.rpm
# 3.修改MySQL仓库配置
[root@test ~]# vim /etc/yum.repos.d/mysql-community.repo
# Enable to use MySQL 5.7
[mysql57-community]
name=MySQL 5.7 Community Server
baseurl=http://repo.mysql.com/yum/mysql-5.7-community/el/7/$basearch
enabled=1 # 打开
gpgcheck=0 # 关闭秘钥检测
gpgkey=file:///etc/pki/rpm-gpg/RPM-GPG-KEY-mysql-2022
file:///etc/pki/rpm-gpg/RPM-GPG-KEY-mysql
[mysql80-community]
name=MySQL 8.0 Community Server
baseurl=http://repo.mysql.com/yum/mysql-8.0-community/el/7/$basearch
enabled=0 # 关闭
gpgcheck=1
gpgkey=file:///etc/pki/rpm-gpg/RPM-GPG-KEY-mysql-2022
file:///etc/pki/rpm-gpg/RPM-GPG-KEY-mysql
# 4.安装MySQL 5.7
[root@test ~]# yum install -y mysql-server
# 5.启动MySQL
[root@test ~]# systemctl start mysqld
# 6.查看MySQL初始密码
[root@test ~]# grep 'password' /var/log/mysqld.log
2022-06-10T04:14:02.280312Z 1 [Note] A temporary password is generated for root@localhost: CDus<eexK8>s
# 7.连接数据库
[root@test ~]# mysql -uroot -p'CDus<eexK8>s'
# 8.修改MySQL初始密码
[root@test ~]# mysqladmin -uroot -p'CDus<eexK8>s' password '123@qqdianCOM'
# 9.连接数据库
[root@test ~]# mysql -uroot -p'123@qqdianCOM'
# 10.创建wordpress库
mysql> create database wordpress;
Query OK, 1 row affected (0.00 sec)
# 11.创建wordpress用户
mysql> grant all on wordpress.* to wordpress_user@'localhost' identified by '123@qqdianCOM';
Query OK, 0 rows affected, 1 warning (0.00 sec)


Comments | NOTHING